How to forward Ports
Applicable to
2.x
3.x
2.x
3.x
The primary functionality of Beacon is to expose ports for dedicated server applications (such as game servers). All related options are directly available from the primary application window:
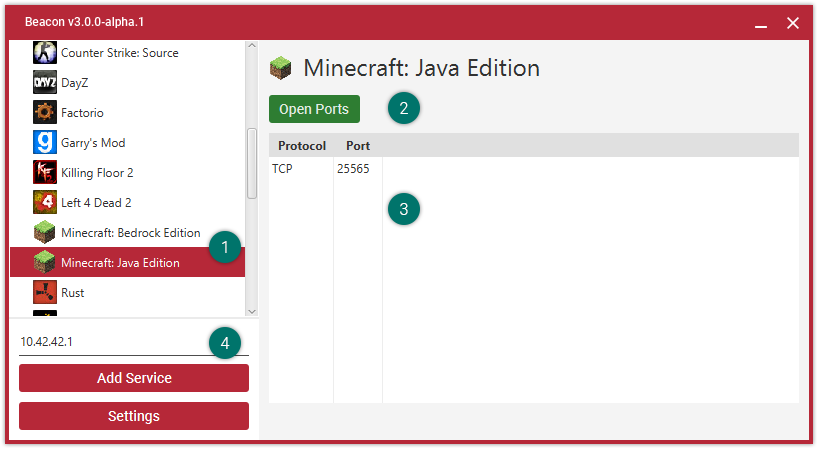
The window consists of the following three primary components:
- Service List - This list displays all applications for which port definitions are provided
- Service Actions - The open and close port actions will appear here
- Port List - This list displays all ports for a selected application
- External Address - This is the IP address at which exposed applications will become available
Step by Step
- Start the server (a dedicated Minecraft Server, for instance)
- Select an application ("Minecraft: Java Edition", for instance) from the service list on the left
- Select "Open Ports"
- Copy the external address ("10.42.42.1" in the example above) and forward it to your friends/family/etc (whoever you wish to let into your server)
- (Optional) Minimize the application (By default, it will appear in your system tray (see below) and may be restored via double click)
- (Optional) Once you are done playing, press the "Close Ports" button
System Tray
Unless explicitly disabled, Beacon will place itself within your System Tray when minimized. It will remain running in the background and keep your ports open within this mode. In order to restore it, double click the Beacon icon.

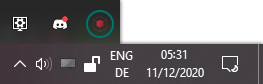
This functionality can be disabled within the application settings.